Notebook 00: Hello, World
Overview
The goal of this Notebook is to get you setup with GitLab, install Anaconda, and write your first program!
Activity 1: GitLab
Task 0: Create GitLab Account
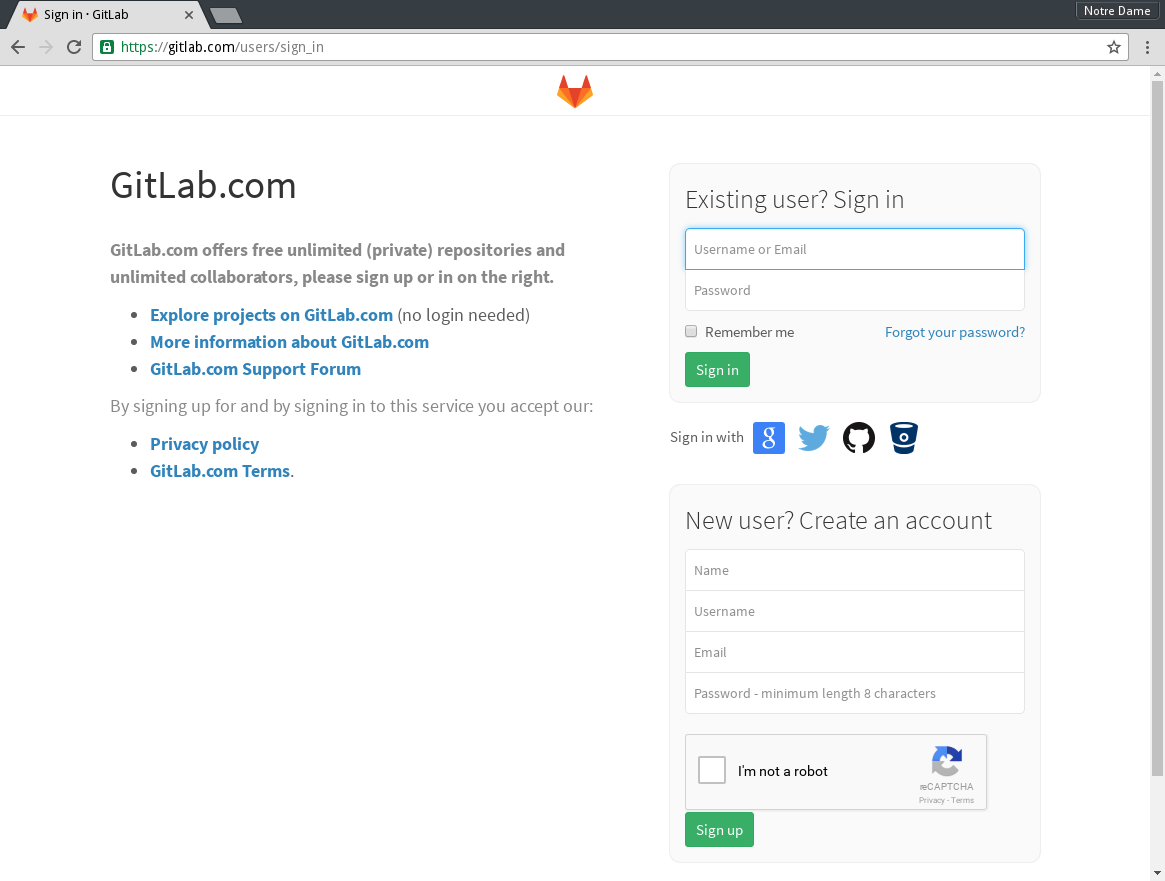
The first step is to create a GitLab account if you don't have one already. GitLab is a code hosting repository similar to Bitbucket and GitHub; you can think of it as a Google Drive or Dropbox for code. You will be using the GitLab service to submit all of your reading and notebook assignments this semester.
To create an account, go to https://gitlab.com/users/sign_in and follow the prompts there.
Task 1: Fork Assignments Repository
Once you are signed up and have logged in, go to the class assignments repository located at: https://gitlab.com/nd-cdt-30010-fa16/assignments and click on the Fork button. GitLab may ask which user or group you wish to assign the new fork. If so, choose your personal GitLab account.

This creates a copy of the class assignments to your personal GitLab account.
Task 2: Make Assignments Repository Private
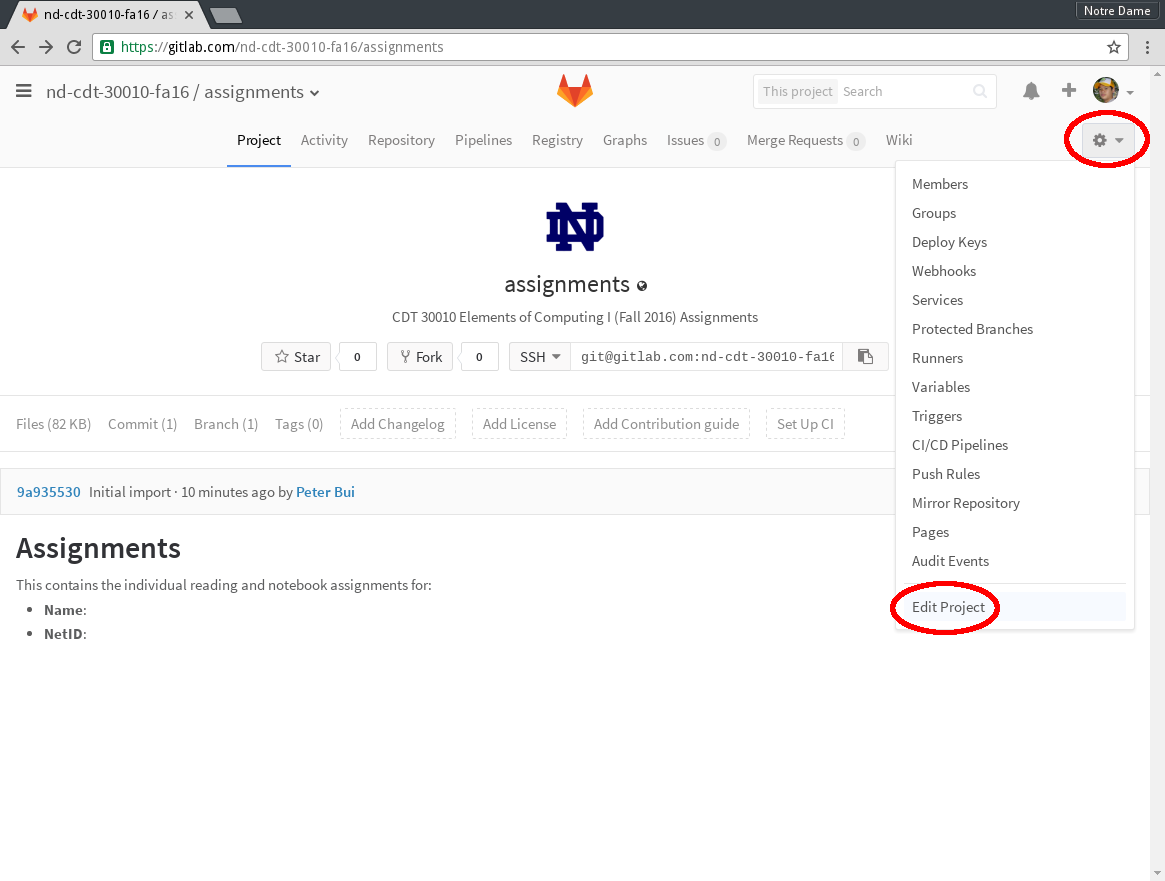
Next, you will configure your assignments repository so that it is private. That is, only you and the instructional staff should have access to it. To do this, click on the gear on the upper-right hand side of the project page and select Edit Project.
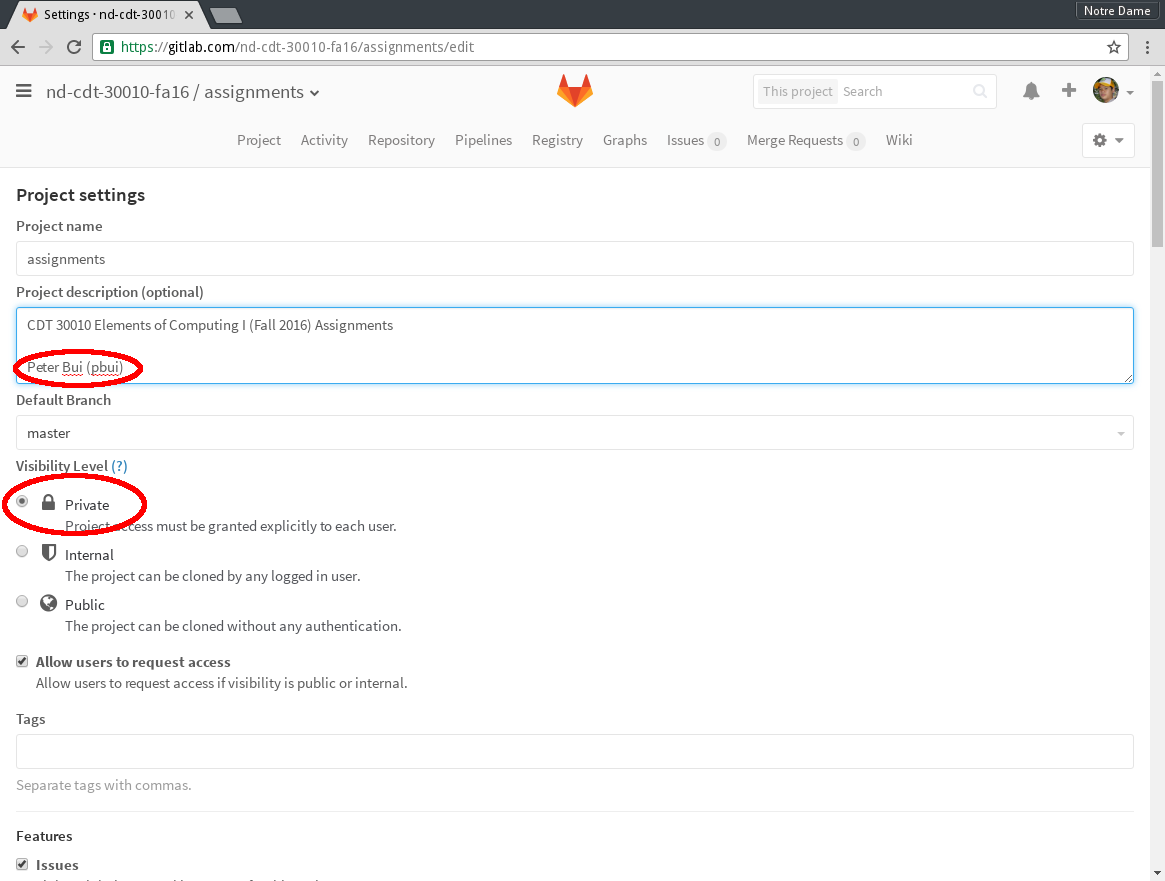
You will then be taken to the Project settings page for the repository. Here, add your name and netid to the Project description. Likewise, make sure you select Private for the Visibility Level. Once you have made these changes, make sure you scroll down and click on the Save changes button.
Task 3: Configure Access to Assignments Repository
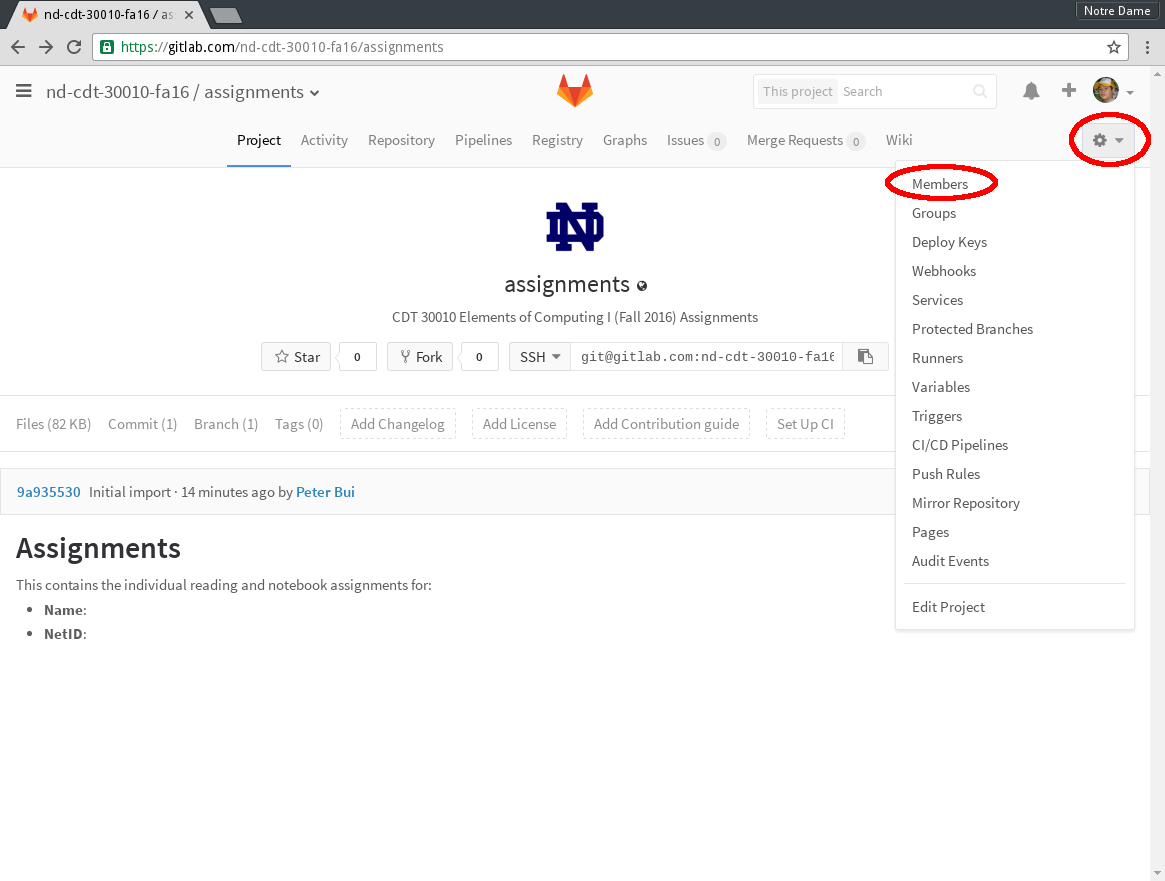
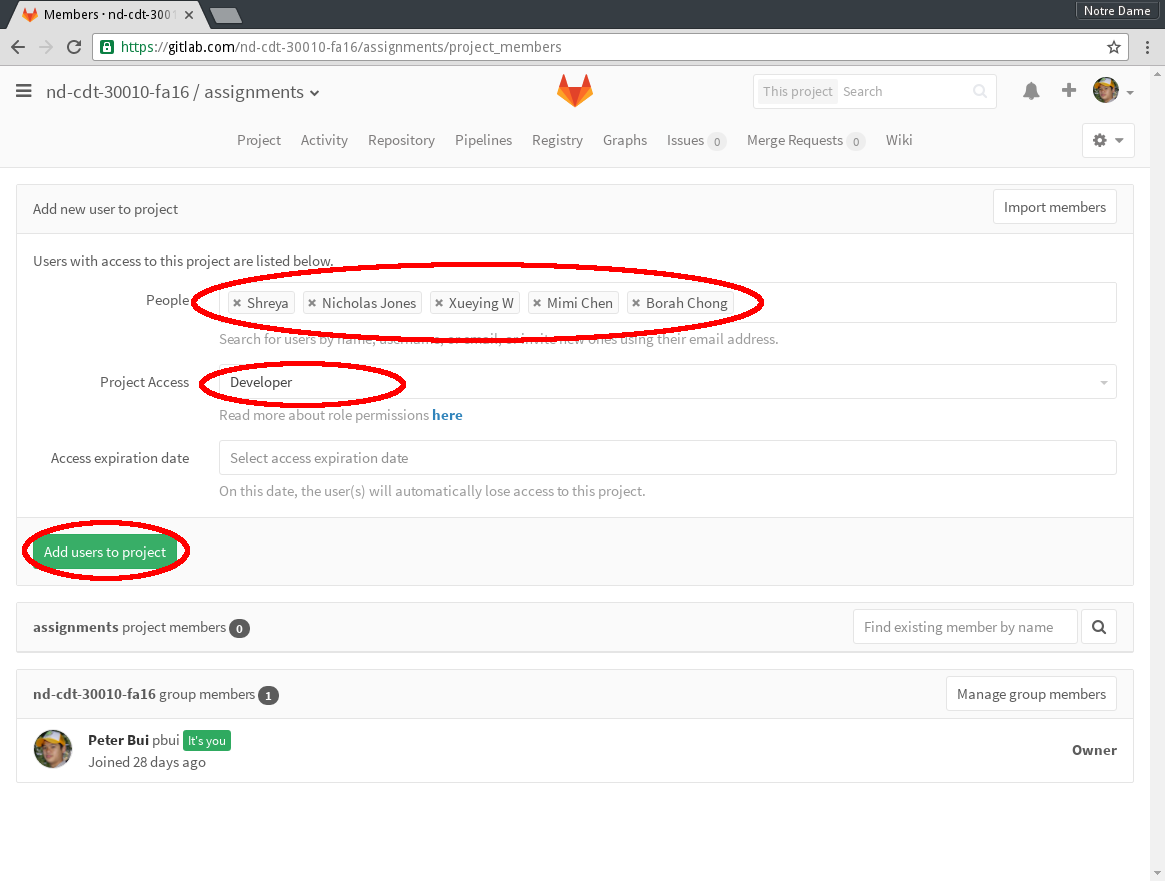
Next, you will ensure that the instructional staff has access to your repository by clicking on the gear on the upper-right hand side of the project page and select Members.
This will take you to the page to add new users to the project. You will need to add all of the instructional staff as part of your project (both instructors and all the teaching assistants):
- Peter Bui (pbui)
- Shreya Kumar (shreyakumar)
- Nick Jones (njones7)
- Borah Chong (bchong)
- Mimi Chen (mchen6)
- Xueying Wang (schneeying)
Each instructional staff member should be given Developer access.
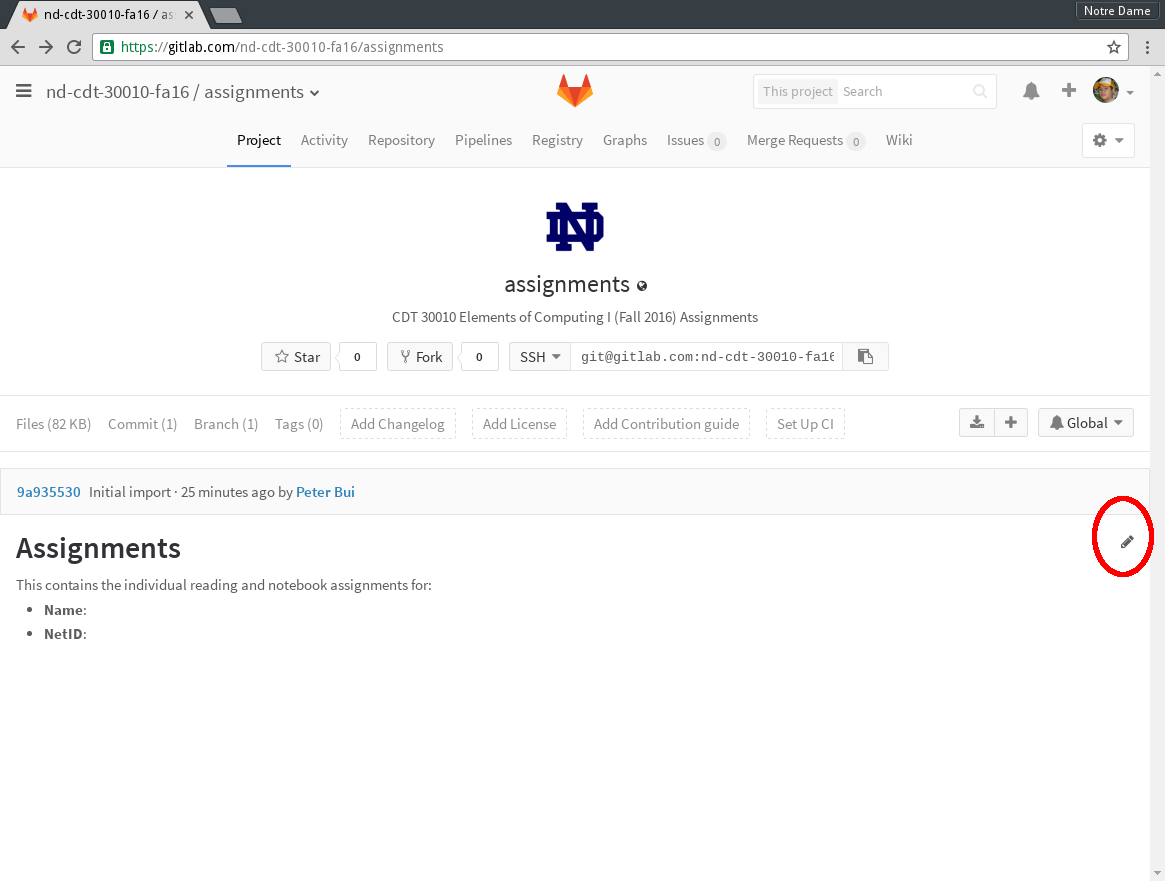
Task 4: Commit First Change
To make your first change, go to the assignments project page and the
click on the pencil to edit the README.md file:
Next, use the text box to add your name and netid. Once you have done this, click on the Commit Changes button.
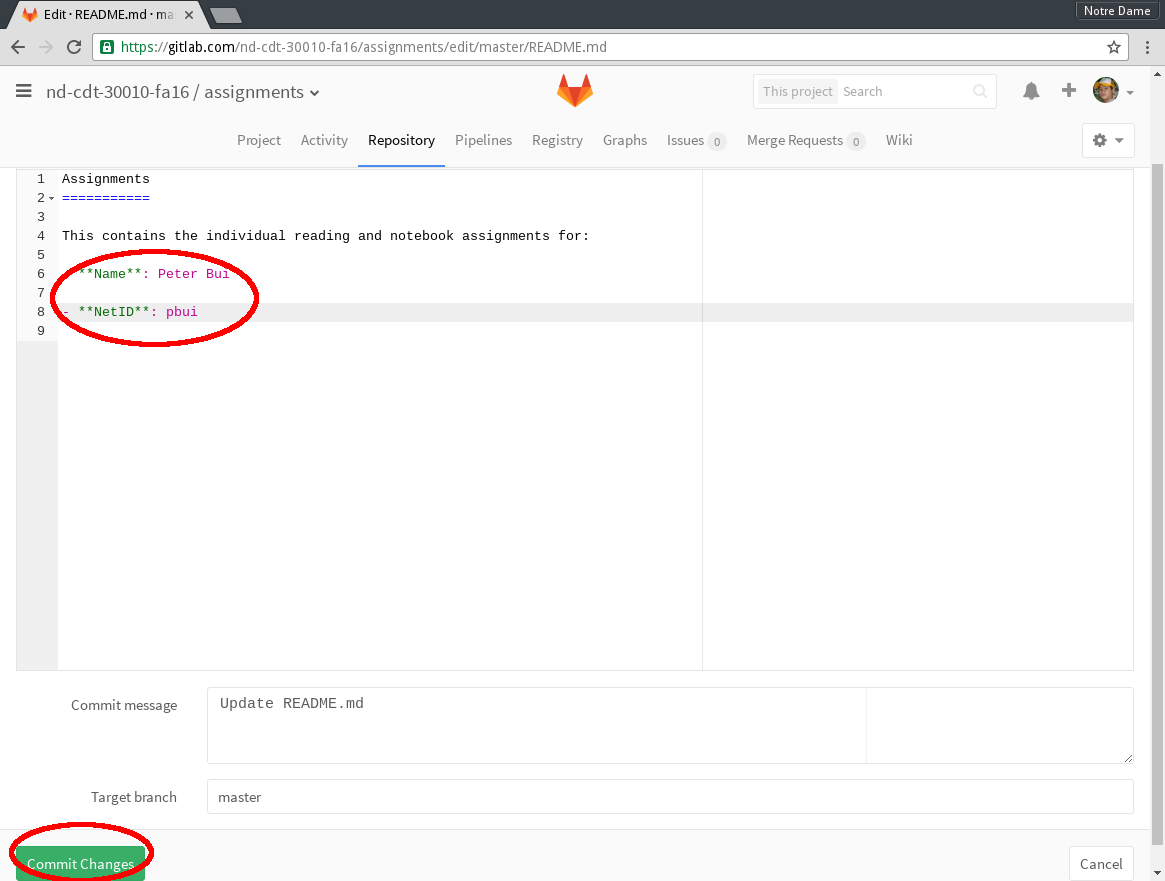
You can update and commit changes as many time as you wish. You may also add a description of your change by modifying the Commit message.
Activity 2: Anaconda
As mentioned in Reading 00, we will be using the Anaconda distribution of Python. If you have not already, go ahead and follow the Anaconda documentation to install the programming environment.
Activity 3: Hello, World
Once you have installed Anaconda, launch the Jupyter Notebook, which should open a tab in your web browser.
Create a new Notebook by going to New and then Python 2:
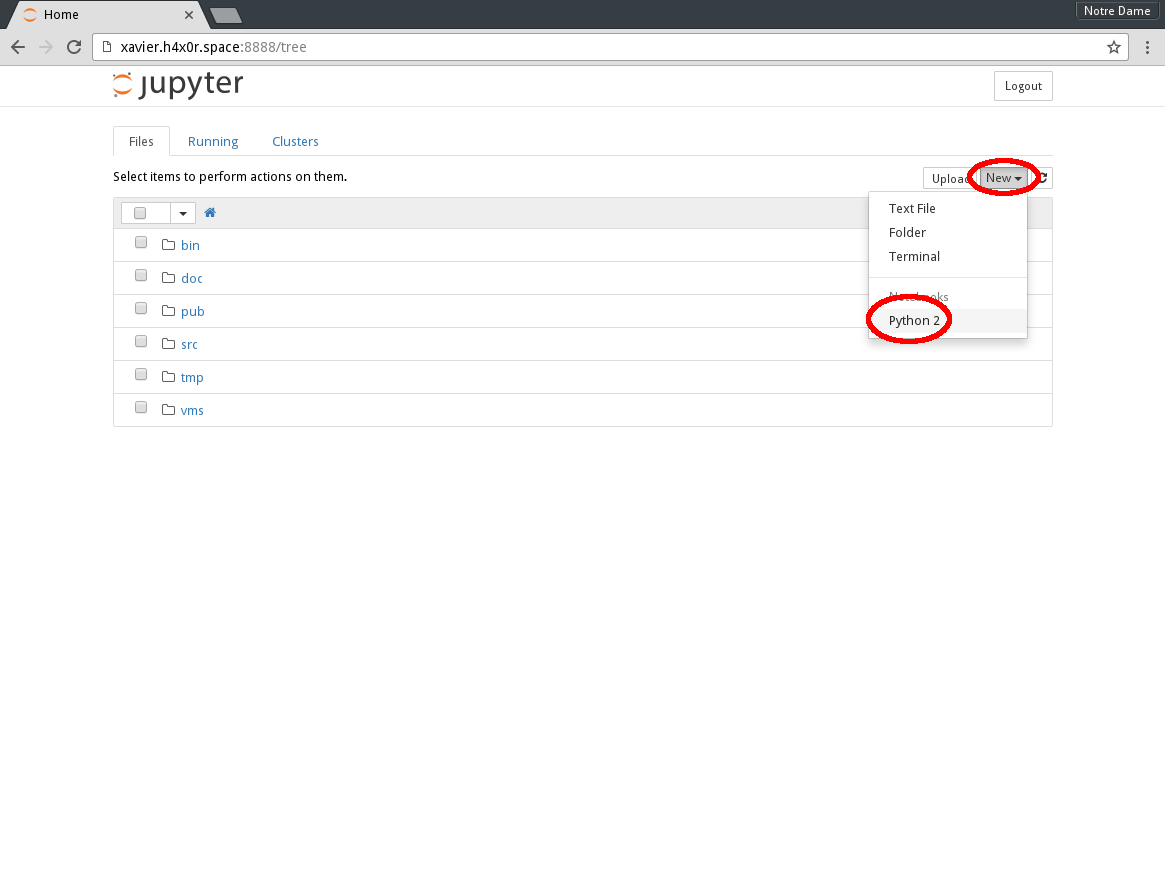
This will take you to the nearly created notebook. Once here, you can
begin typing Python code into the cells and pressing the Run button to
execute the code.
For instance, type in the following and execute it:
print 'Hello, World'
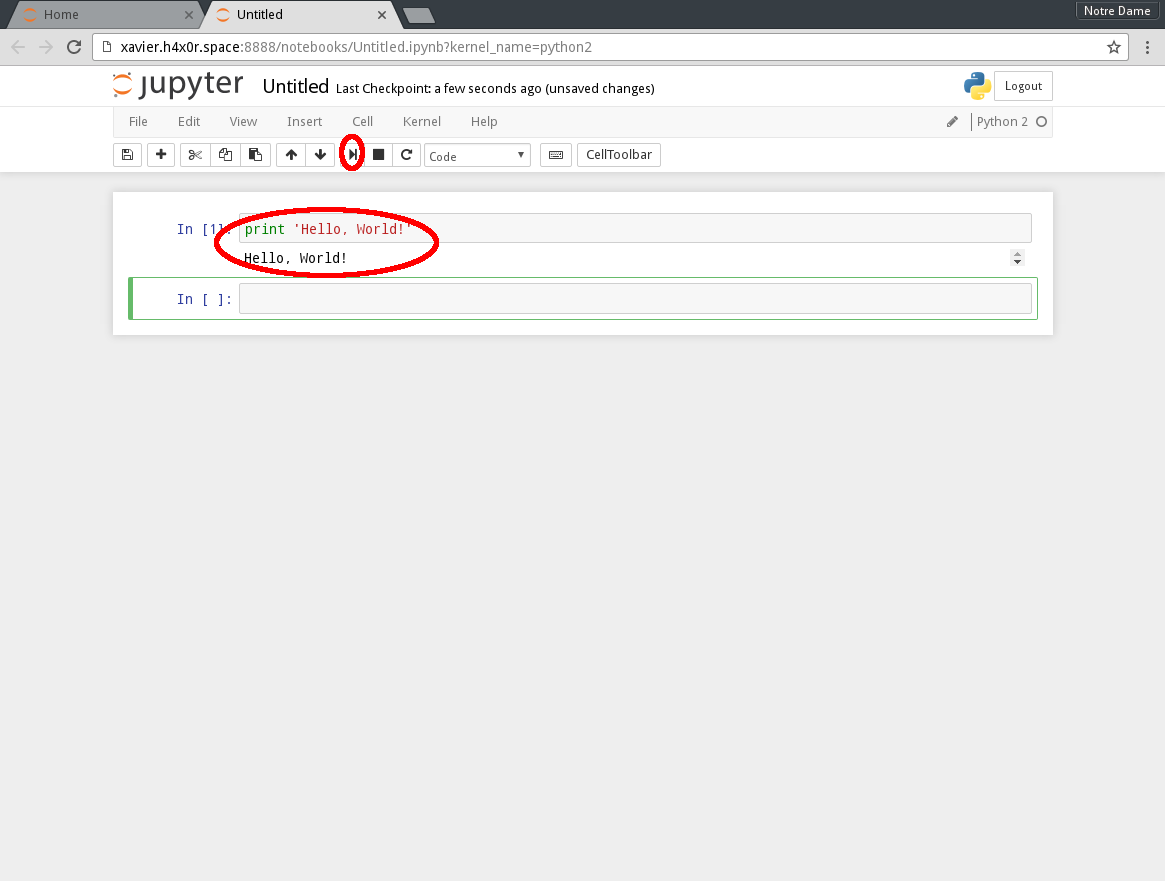
Congratulations, you have written the famous Hello, World program in Python.