Project 01: DrawIt
Overview
The goal of the first project is to allow you to practice writing scripts and modules while also exploring the basics of object-oriented programming in Python. Therefore, this project requires you to complete a Python package called DrawIt, which is a simple drawing library for composing two-dimensional images in PPM format.
You are to work in your Raspberry Pi groups and your code should run on the provided machines (although you can do your development anywhere and using any resources you wish).
Activity 1: Projects Repository
To keep track of your work and to facilitate collaboration, your group will use a git repository on Bitbucket. For these group projects, one member of your group should fork the Projects repository:
https://bitbucket.org/CDT-30020-SP16/projects
Once that one member has forked that repository, then that person
should give the other members access by going to Settings > Access
management, and then adding the other group members.
After you have forked the Projects repository and given group members access, then you should clone it to your development machine. This can either be your laptop or directly onto the Raspberry Pi.
Activity 2: DrawIt Package
Once you have forked and cloned the Projects repository, you should
go into the drawit folder. As you can see, the drawit project has the
following layout:
drawit
    \_ drawit                           DrawIt Python Package
            \_ __init__.py
            \_ color.py                 DrawIt Color Module
            \_ image.py                 DrawIt Image Module
            \_ point.py                 DrawIt Point Module
            \_ ppm.py                   DrawIt PPM Module
            \_ tests                    DrawIt Tests
                \_ color_tests.py       DrawIt Color Module Tests
                \_ image_tests.py       DrawIt Image Module Tests
                \_ point_tests.py       DrawIt Point Module Tests
    \_ draw_circle.py                   Circle Demo Script
    \_ draw_freight_train.py            Freight Train Demo Script
    \_ draw_line.py                     Line Demo Script
    \_ draw_point.py                    Point Demo Script
    \_ draw_rectangle.py                Rectangle
For this project, you only need to modify the following the color.py,
image.py, and point.py modules as detailed below.
Color Module
The first module is drawit.color which defines the drawit.color.Color
class. As discussed previously, colors typically store red, green, and
blue (aka rgb) values which define the color value for a pixel.
For this activity you are to complete the drawit.color.Color class by
defining the following methods:
-
__init__(self, r=0, g=0, b=0)This the constructor which should set the instance variables of the object (ie. r, g, b).
-
__eq__(self, other):This is a protocol method which is called when we an expression comparing two
drawit.color.Colorobjects (ie.color0 == color1). It should returnTrueif the instance variables of each object are equal. -
__str__(self):This is a protocol method which is called when we want to get a string representation of the object (ie.
str(color)). It should return a string of the formColor(r=?,g=?,b=?)with the appropriater,g,binstance variables.
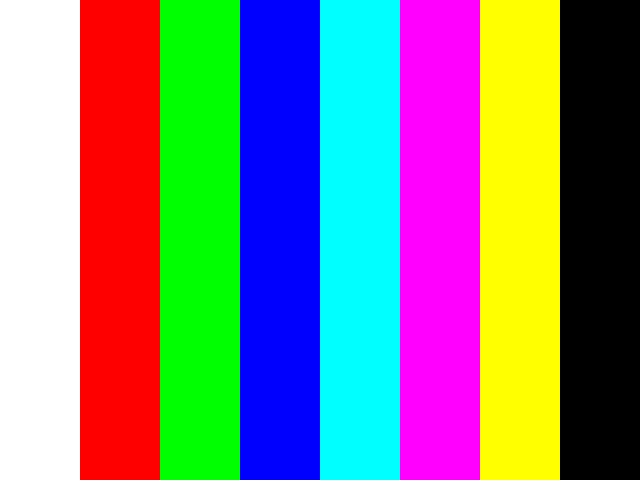
In addition to defining this class, you must also define some basic colors:
WHITE
RED
GREEN
BLUE
CYAN
MAGENTA
YELLOW
BLACK
Furthermore, you should collect these basic colors into a COLORS list for
easy of use.
Point Module
The second module is drawit.point which defines the drawit.point.Point
class. This object contains x and y attributes that can be used to
specify a location.
For this activity, you are to complete the drawit.point.Point class by
defining the following methods:
-
__init__(self, x=0, y=0)This the constructor which should set the instance variables of the object (ie.
x,y). This method also ensures that the attributes areints. -
__eq__(self, other):This is a protocol method which is called when we an expression comparing two
drawit.point.Pointobjects (ie.point0 == point1). It should returnTrueif the instance variables of each object are equal. -
__str__(self):This is a protocol method which is called when we want to get a string representation of the object (ie.
str(point)). It should return a string of the formPoint(x=?,y=?)with the appropriatex,yinstance variables. -
`distance_from(self, other):
This is a method which returns the distance from the current instance to other Point.
Hint: You can use the
math.hypotfunction.
Image Module
The last module is the drawit.image module which defines the
drawit.image.Image class. This object contains the width and height of
the image along with the pixels associated with the image.
For this activity, you are to complete the drawit.image.Image class by
defining the following methods:
-
__init__(self, width=DEFAULT_WIDTH, height=DEFAULT_HEIGHT)This the constructor which should set the instance variables of the object (ie.
width,height) and initialize the internal collection ofpixels. -
__eq__(self, other):This is a protocol method which is called when we an expression comparing two
drawit.image.Imageobjects (ie.image0 == image1). It should returnTrueif the instance variables of each object are equal. -
__str__(self):This is a protocol method which is called when we want to get a string representation of the object (ie.
str(image)). It should return a string of the formImage(width=?,height=?)with the appropriatewidth,heightinstance variables. -
__getitem__(self, point):This is a protocol method which is called when we use the index operator to read a value (ie.
image[point]). It should return the pixel color at the location specified bypoint. Ifpointis not with the bounds of the image, then anIndexErrorshould be raised. -
__setitem__(self, point, color):This is a protocol method which is called when we use the index operator to store a value (ie.
image[point] = color). It should set the pixel at the location specified bypointto the givencolor. Ifpointis not with the bounds of the image, then anIndexErrorshould be raised. -
clear(self):This is a method which clears the image by setting all pixels to default the
Color.Hint: You can call this in the constructor to reduce code duplication.
-
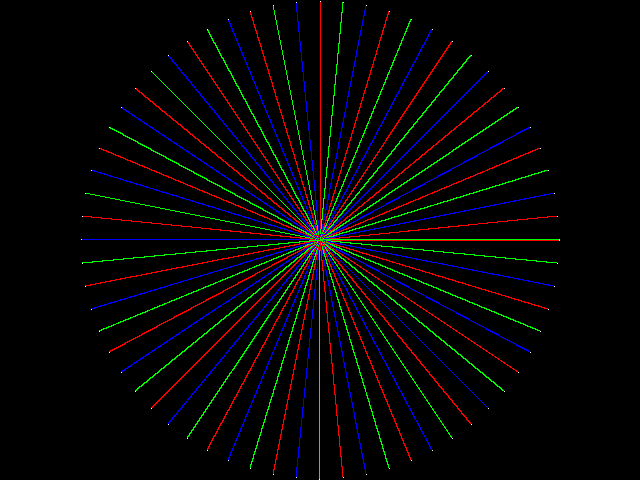
draw_line(self, point0, point1, color):This is a method which draw a line from
point0topoint1with the givencolor.To draw a line using polar coordinates, you can use the following recipe:
-
Compute the angle defined by the two points using the atan2 function.
-
Compute the distance between the two points.
-
If angle is greater than or equal to Pi, then we need to subtract Pi from the angle.
-
Draw the line by drawing a point every few lengths from the first point until we have reached the distance computed in step two.
The point at distance
dwith angleais defined as:P(d, a).x = point0.x + d*cos(a) P(d, a).y = point0.y + d*sin(a)
-
-
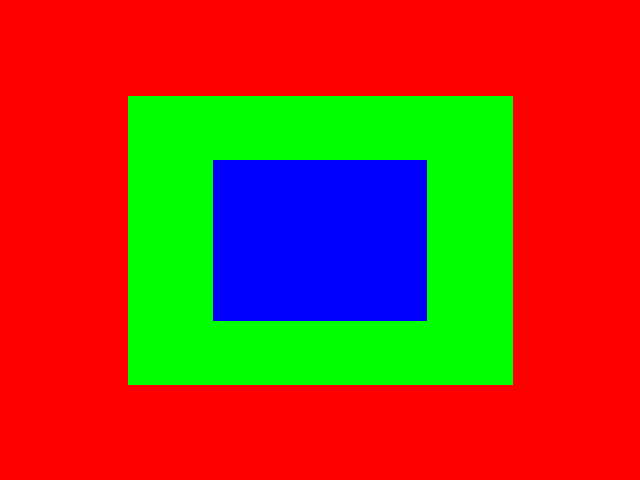
draw_rectangle(self, point0, point1, color):This is a method which draw a rectangle from
point0topoint1with the givencolor.To draw a rectangle one row at at time, you can use the following recipe:
-
Determine the column start and end.
-
Determine the row start and end.
-
For each row from the start to the end determined in step 2:
-
For each column from the start to the end determined in step 1:
- Draw a pixel at point(column, row)
-
-
-
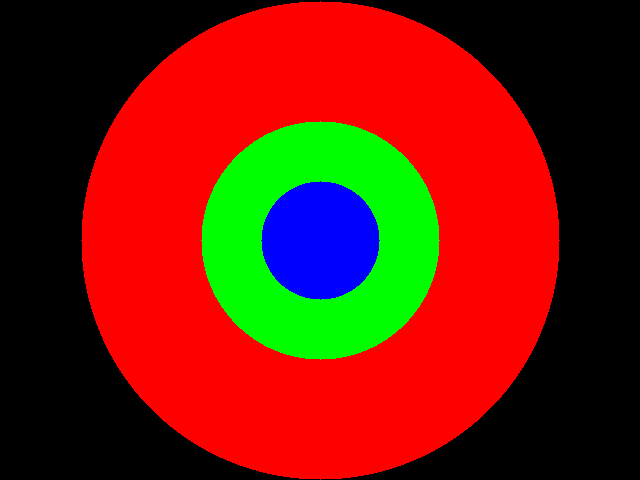
draw_circle(self, center, radius, color):This is a method which draw a circle with the specified
centerandradiuswith the givencolor.To draw a circle by walking the rectangular area, you can use the following recipe:
-
Determine the column start and end based on the center point and the radius.
-
Determine the row start and end based on the center point and the radius.
-
For each row from the start to the end determined in step 2:
-
For each column from the start to the end determined in step 1:
- If point p is in circle then draw a pixel at point(column, row)
-
-
Testing
We have provided tests that you can run to verify that your code is behaving properly. To run these tests, you can use the unittest module as follows:
$ python -m unittest -v drawit.tests
test00_ColorInit (drawit.tests.color_tests.ColorTest) ... ok
test01_ColorEq (drawit.tests.color_tests.ColorTest) ... ok
test02_ColorStr (drawit.tests.color_tests.ColorTest) ... ok
test03_ColorGlobals (drawit.tests.color_tests.ColorTest) ... ok
test00_ImageInit (drawit.tests.image_tests.ImageTest) ... ok
test01_ImageEq (drawit.tests.image_tests.ImageTest) ... ok
test02_ImageStr (drawit.tests.image_tests.ImageTest) ... ok
test03_ImageGetItem (drawit.tests.image_tests.ImageTest) ... ok
test03_ImageSetItem (drawit.tests.image_tests.ImageTest) ... ok
test04_ImageClear (drawit.tests.image_tests.ImageTest) ... ok
test05_ImageLine (drawit.tests.image_tests.ImageTest) ... ok
test06_ImageRectangle (drawit.tests.image_tests.ImageTest) ... ok
test07_ImageCircle (drawit.tests.image_tests.ImageTest) ... ok
test00_PointInit (drawit.tests.point_tests.PointTest) ... ok
test01_PointStr (drawit.tests.point_tests.PointTest) ... ok
test02_PointStr (drawit.tests.point_tests.PointTest) ... ok
test03_PointDistanceFrom (drawit.tests.point_tests.PointTest) ... ok

----------------------------------------------------------------------
Ran 17 tests in 5.369s

OK
For your convenience, you can also use the following command to run the tests:
$ make test
Scripts
In addition to the unit tests, you are also provided a few example demo scripts. The first few scripts demonstrate each of the drawing primitives:
$ ./draw_point.py > draw_point.ppm
$ ./draw_line.py > draw_line.ppm
$ ./draw_rectangle.py > draw_rectangle.ppm
$ ./draw_circle.py > draw_circle.ppm
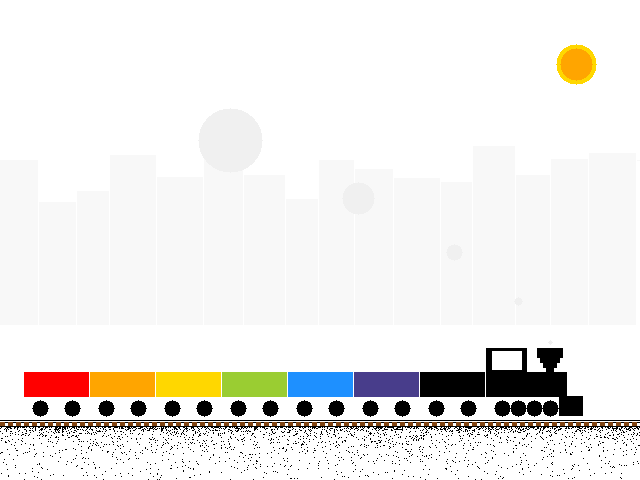
One special script, demonstrates how you can put all of these things together to make a pretty cool image:
$ ./draw_freight_train.py > draw_freight_train.ppm
For your convenience, you can run all of these scripts at once by doing:
$ make ppms
This will generate PPM files that you can view. If you prefer PNG files, you can do the following instead:
$ make pngs
To make a single image, you can do:
$ make draw_line.png
Note: The make commands will automatically run any script that begins
with draw_, so if you use that prefix for your scripts, then you can also use
the make command.
Activity 3: DrawIt Artwork
Once you have a working and tested DrawIt package, then you are to use the library by writing scripts that produce cool images!
Specifically, each group must write a script, draw_group_logo.py that will
generate an image that serves as the group's logo.
Afterwards, each group member should write their own draw_NETID.py script
that
- Draws your initials.
- Draws a smiley face.
- Draws a robot.
- Draws a bunch of stars.
- Draws something super awesome and cool!
What you draw for your individual script is up to you.
Submission
To submit your project, please commit your work to your Projects repository by the beginning of class, Thursday, February 4.